Saturday, June 7, 2014

Fence, Porch, Pets, WOW!


After much contemplation, we finally decided that we would replace the old chain link fence that only fenced in about half of our backyard and put in a 6 foot tall, vinyl privacy fence that would encompass almost the entire quarter acre of the backyard.  We hired Travis, the owner of Premier Vinyl, to do the job for us.  Luckily, because we decided to have the fence installed in the winter months, which is their slow time, we were able to get a nice discount on the materials!  The only problem was that we scheduled to have the fence replaced during the coldest, most frigid and awful week possible- the week of the infamous "Polar Vortex" where temperatures were reaching negative numbers!  The yard feels incredibly huge after taking out the old fence.  Below are the photos of the journey.


Old fence is gone and new fence posts are in.

Photos of Fence Posts
More Fence Posts


It's about 6 degrees outside in this photo. 

Since we have the nice new fence, we have also decided that it is time to get our current pup a friend!  We are adopting a cute, furry-faced, pup to add to our family!  Photos below:


I also found this old post that I forgot to publish back in January!  

Enjoy.

~R.

Truckin' Right Along

Yes, I know...I've been MIA.  But, I'm back.  I have updated photos of the back porch, the new privacy fence, and now we are replacing the front porch as well.  After having some minor roof-related issues, it was decided that the front porch would be replaced, all while straightening the roof and then getting the roof replaced.


Quick update, over and out.

~R.

Monday, December 9, 2013

The "Awning"

In preparation for winter this year, and remembering how we feared for our lives when we would walk out the backdoor after the snow and ice had started to melt/slide off the roof onto our heads last winter, we decided that it would be smart to put an awning over the backdoor.  We searched Lowes up and down and could not seem to find an awning that we truly loved and that would fit the style/look of our house.  So, in true homeowner fashion, it was decided that we would build one!

The "awning" is more of a small addition to the back of the house.  After 2.5 days of manual labor- here is the almost finalized product (minus the custom metal roof to match the house).

Day one:  Holes were chipped out of the cement to put our posts:

Hole One

Both post holes

siding was removed to put the support section for the roof
 

Post #1 is situated
 Day 2:  Structure is completed (minus the metal roof which we are having custom-built):

   
It snowed just in time to get the structure completed!

Once everything is complete, there will be more photos to come!
~R. 

Friday, November 15, 2013

Nothin' Gets Us Down! Hallway Fun Day!

After several months of working on the upstairs hallway, we are finally starting to see some light at the end of the tunnel.  Originally the hallway was filled with cabinets that were nailed to the wall, and of course, a lovely shade of high-gloss peach. 

We extended the same gray color that we used in the living room, added some waynescoting, and additional decorative elements including:  vintage windows to give the appearance of openness in the small space. 
view from back bedroom
view from stairway


view into back bedroom

View down hallway


still determining what we will do with the column, to expose the brick, or not?  that is the question. 

We had a ton of trick-or-treaters this year as well- here's a peek at what our pumpkins looked like!


More photos to come as we work our way down the stairs!
 
~R. 

Sunday, August 25, 2013

Completed Bathroom...Finally!

Happy Sunday!

The bathroom is completed, with the exception of finding the perfect mirror for the vanity.  I've posted some pics below for your viewing pleasure.  After the transformation, it's hard to believe that we lived with that heinous blue disaster for almost two years!  eeeek!

View from front.  
When we pulled the old dry wall out, we discovered that a large majority of the original bead board walls were there (including that old shelf under the light!).  So, we decided to save some money and use those as the walls instead of replacing the dry wall, preserving a piece of our home's history!


The shelf below was already roughed in, exactly where we had wanted to put a shelf!  We added a light fixture that goes along with the old farmhouse- vibe we have going on.  Our contractor added some reclaimed cedar-backed oak wood to the shelf to give it a vintage feel.  I added some succulents and air plants to complete the finishing touches!

Shelf was original to the house, we just added some loving!  


Next up was the shower.  We pulled out the nasty old shower (see previous postings) and added a new fiberglass tub, as well as beautiful tile walls, with some artistic touches!


Tiled walls, with build in shelves!

Top of shower with decorative bead board finishes. 

Front of shower, facing window, with open boxes to let light in and allow better ventilation!

Then there was the vanity.  We went to Shanks Wholesalers and started checking out their showroom.  I just happened to come across the vanity below, which had been discontinued and they offered it to us (sink included) for 60% off!  Clearly, it was meant to be and it was immediately purchased!

Vanity!

Light fixture- off position.

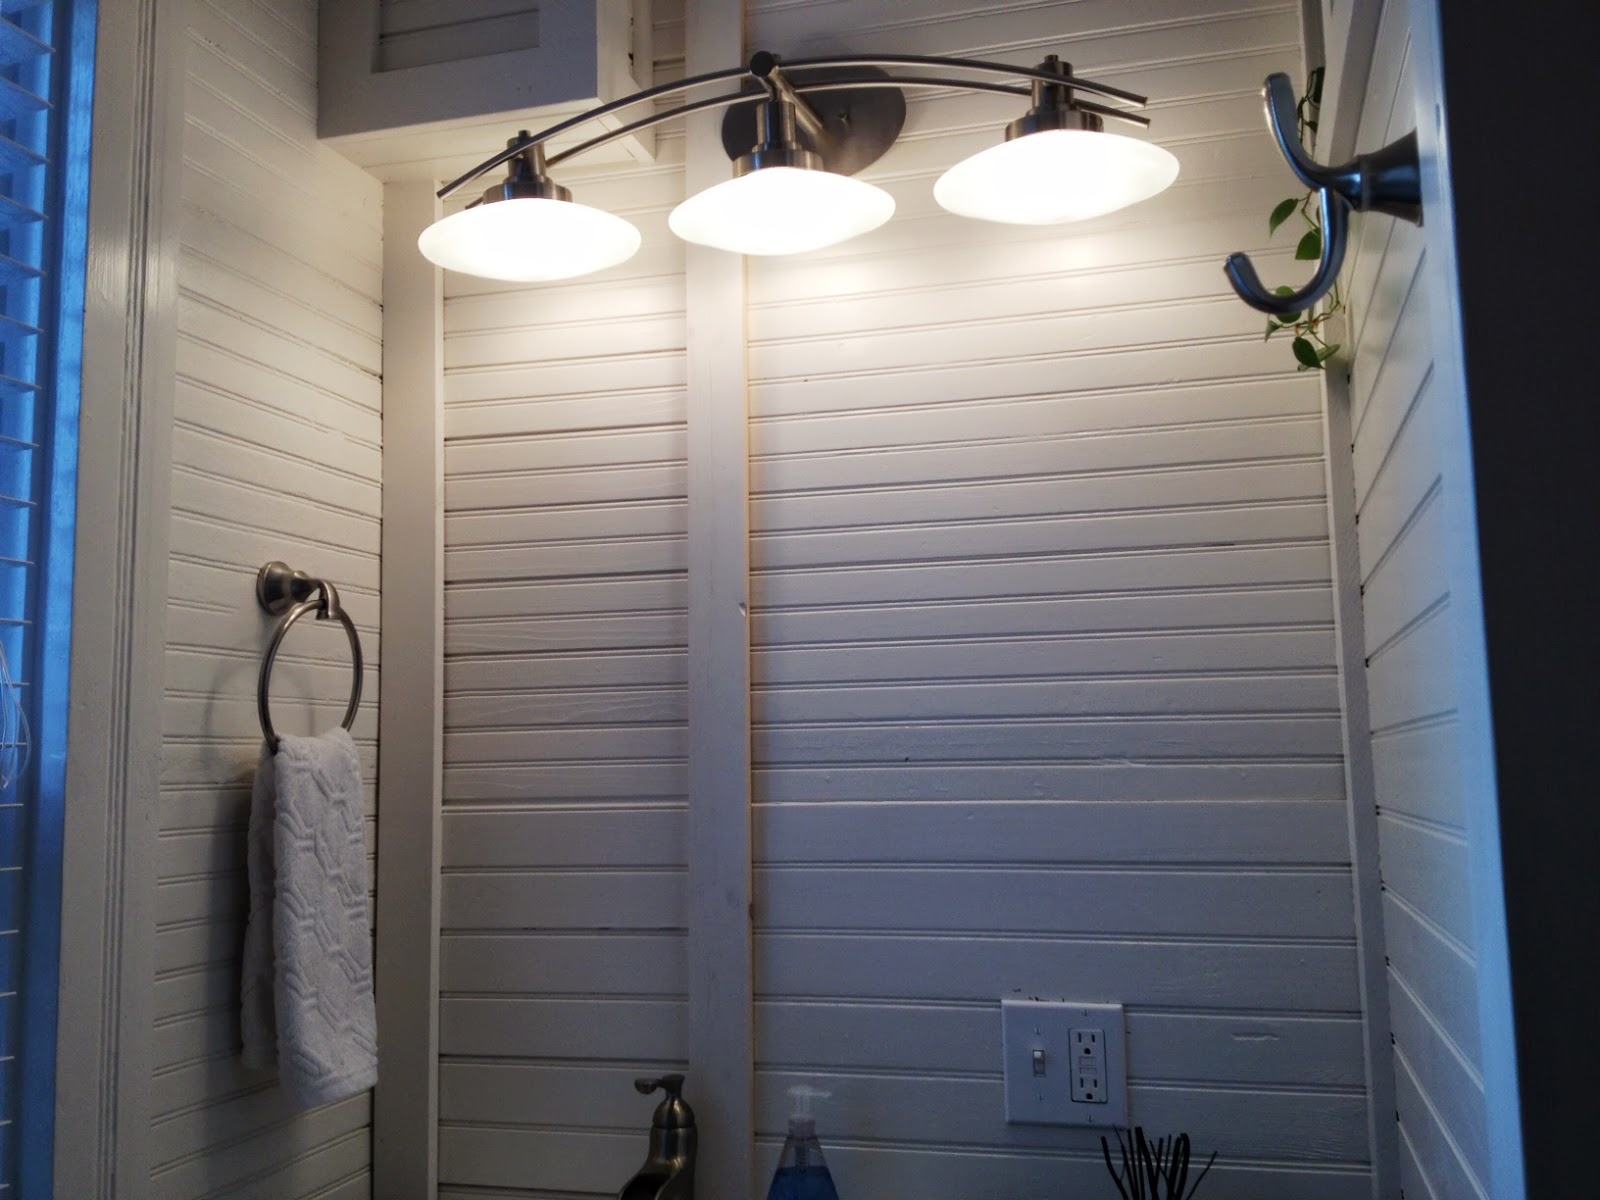
Light fixture- on position.

Details on front.  


Then, the final touch to complete the bathroom.  The door.  The door was actually a wedding present from our contractor/friend.  He created this beauty from locally reclaimed barn wood, even the horseshoe on the front was found locally!  If we ever sell our house, this would not be included in the sale.

View from living room


view from inside bathroom


We are still searching for the perfect mirror, but in the meantime, I think it's a pretty impressive remodel.  This project was finished in approximately 2 weeks time.  We hired a contractor to help get the show on the road, a professional tile-guy, as well as professional plumbers.  I think it turned out pretty good for our first project not doing 100% on our own!

~R.


Tuesday, August 13, 2013

Air Plants

I'm huge on plants.  However, my cat eats them, so I have to be very careful what plants I have indoors.  They must be placed where she cannot get to them- she loves greens.  Right now I'm on a air plant and succulent kick!  Check out some of the sites that I've used.  I will post photos of my designs later on this week. 

I ordered a few from: 

http://www.airplantsupplyco.com/

And of course, I love Houzz, and these ideas are awesome!

Monday, August 12, 2013

Bathroom Continued...

OK, yeah.  This is the first project that we've actually hired a contractor to help us with.  Things are coming along swimmingly and it appears that the entire project should be done in less than a week and a half!  Check out some sneak peeks of the new digs...
New Shower!

New structural elements to let natural light into our spa-shower!

After removing the nasty dry wall, we discovered the originally bead board walls!  We will be preserving them and using them in the bathroom again!

More Shower and tile flooring

More original bead board walls!


Getting' closer!
~R.